Set up Event Detection and view recordings

Overview
Event Detection allows IP Cameras to be triggered to start recording when detecting certain events. With Surveillance Station, you can access video files anytime anywhere, and grasp every movement in your target environment. Motion Detection, Audio Detection, Tampering Detection, PIR Motion Detection, and ACAP (AXIS Camera Application Platform) are all included in Event Detection.
1. Set up IP cameras
Before activating Event Detection, make sure your IP cameras are set up correctly. See Add an IP camera to Surveillance Station for more information.
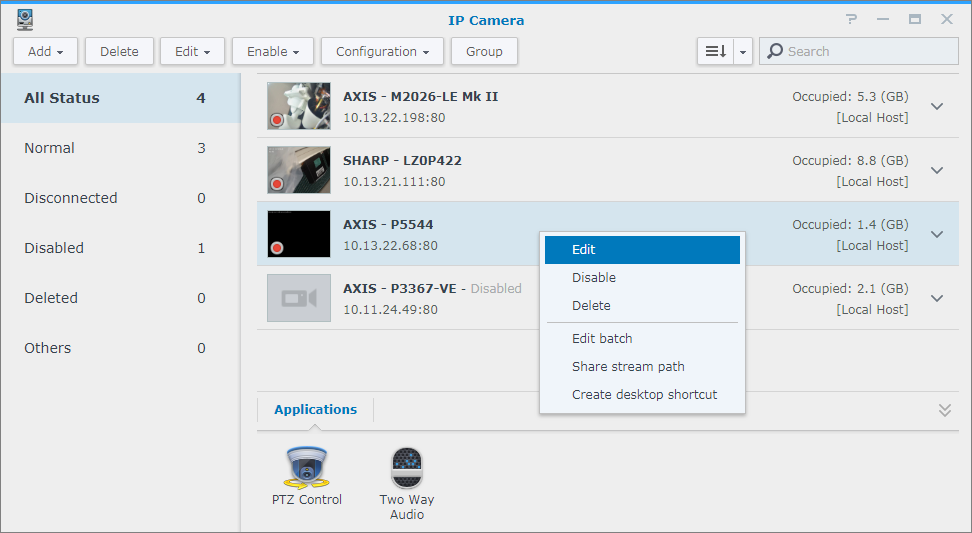
2. Launch IP Camera
Go to IP camera and find the device you wish to activate Event Detection. Click the Edit button or right-click to select Edit to access the Edit Camera page.
3. Configure recording schedules
- Go to Recording Settings > Schedule. You can set the recording mode according to your needs.
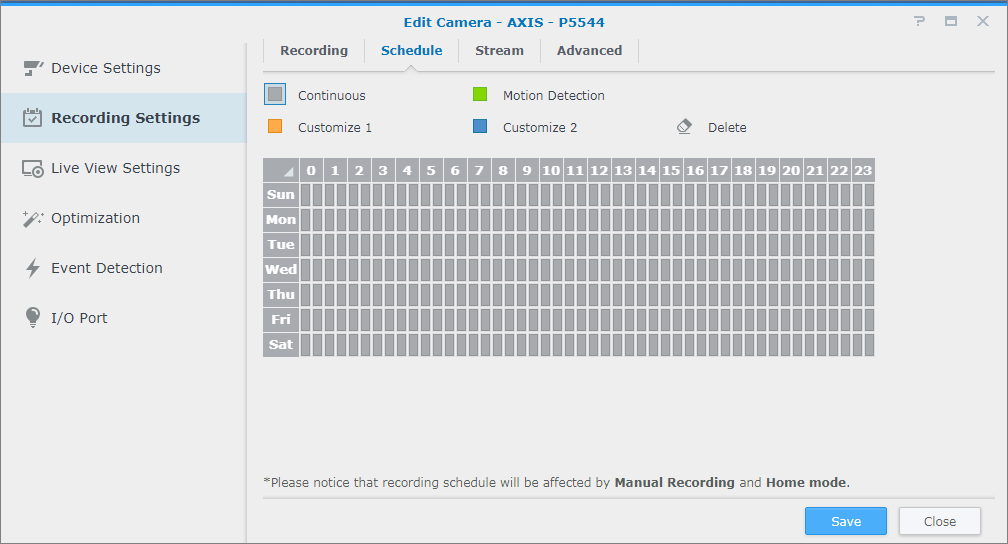
- Click on the boxes above the timetable to choose a function.
- Continuous: Surveillance Station will continuously record during the selected time, regardless of event triggers.
- Motion Detection: Surveillance Station will only record video once motion is detected.
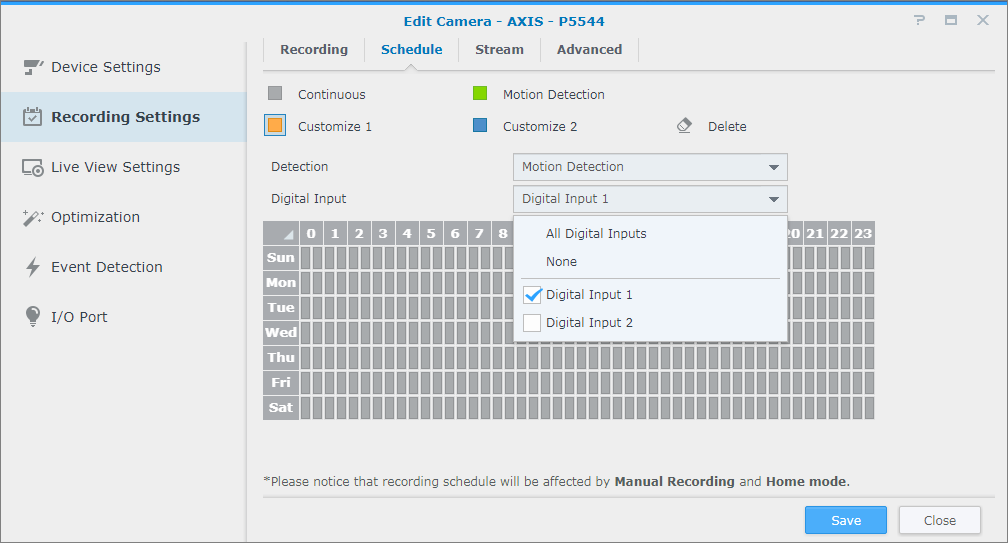
- Customize 1 and Customize 2: Surveillance Station will only record video when there is a customized event detected. You can select Motion Detection, Digital Input, Audio Detection, Tampering Detection, PIR Motion Detection, and ACAP from the drop-down menu if your camera supports such functions.
- Delete: No video will be recorded during this period, but you can still see live streaming through Live View.
- Drag your mouse across the timetable to apply the settings. Every grid cell represents half an hour.
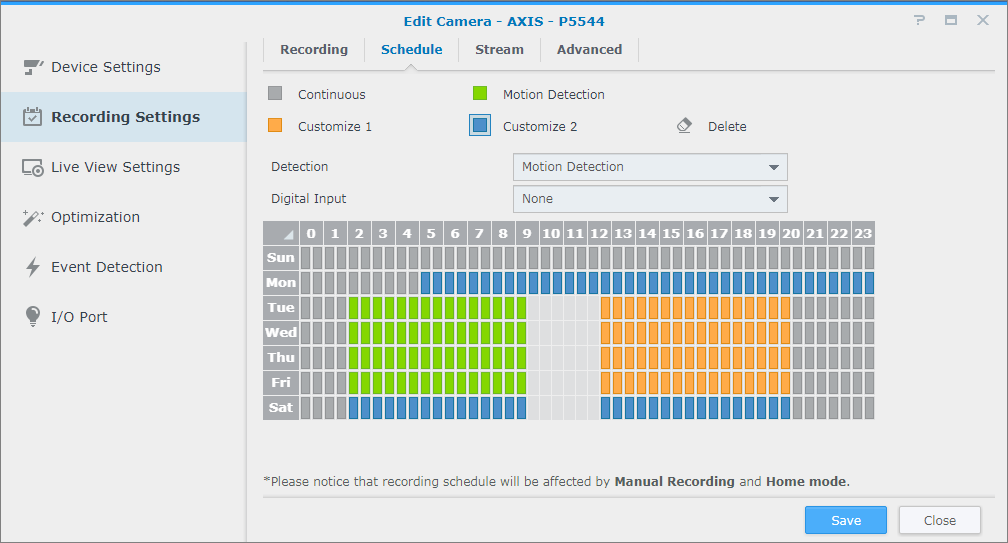
- Click Save to apply your settings.
4. Set up Event Detection
More settings will be needed if you selected Motion Detection, Customize 1 or Customize 2. Go back to the Event Detection tab to configure settings.
- If you select By camera, the camera built-in motion detection will be used. By ticking the Keep original camera settings checkbox, the system uses the current camera settings to define the detection area. Note that some cameras do not support motion detection or support only limited functions.

- By Surveillance Station provides more detailed settings and more precise motion detection functions. Also, when Surveillance Station is updated, the detection accuracy will increase accordingly. This can help maintain the hardware performance and video quality of your device as well.
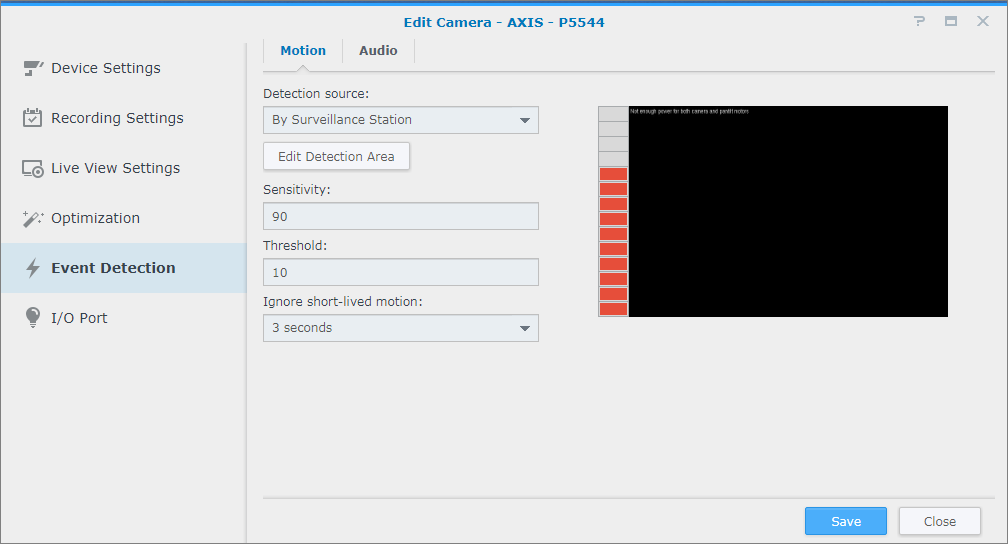
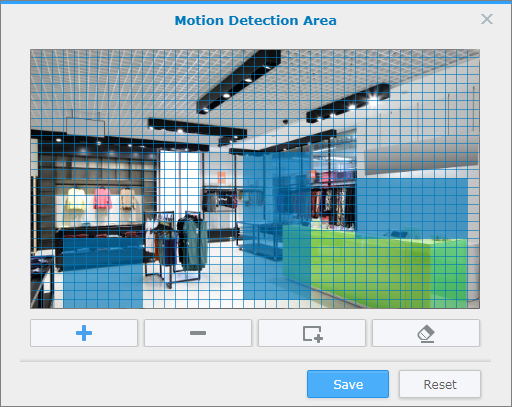
- Edit Motion Detection Area: Click on the button under Detection Source to open the Edit Motion Detection Area window. Use the
+ and - to add and delete the target area, then click Save to apply your settings.
- Sensitivity: This is a factor in determining how large the difference is required between a series of frames to trigger motion detection. Larger values will trigger motion detection more easily. The value range is 1 to 99 (%).
- Threshold: The threshold of motion detection. Larger values will trigger motion detection for larger movements. The value range is 1 to 99 (%).
- Ignore short-lived motion: Ignore short-time motion. Larger values will trigger motion detection for a long time.
- Edit Motion Detection Area: Click on the button under Detection Source to open the Edit Motion Detection Area window. Use the
+ and - to add and delete the target area, then click Save to apply your settings.
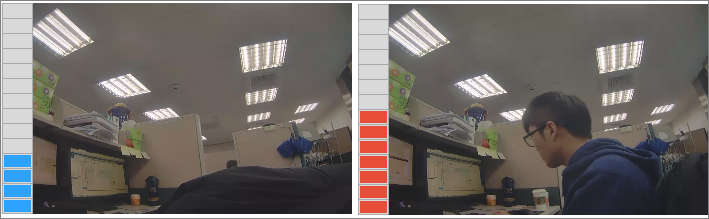
- Click Save to apply your settings. You can try to trigger motion detection to make sure the settings meet your expectations. The bar on the left indicates the level of motion detected. Blue means the detected movement is below the threshold while red means the detected motion has triggered recording.
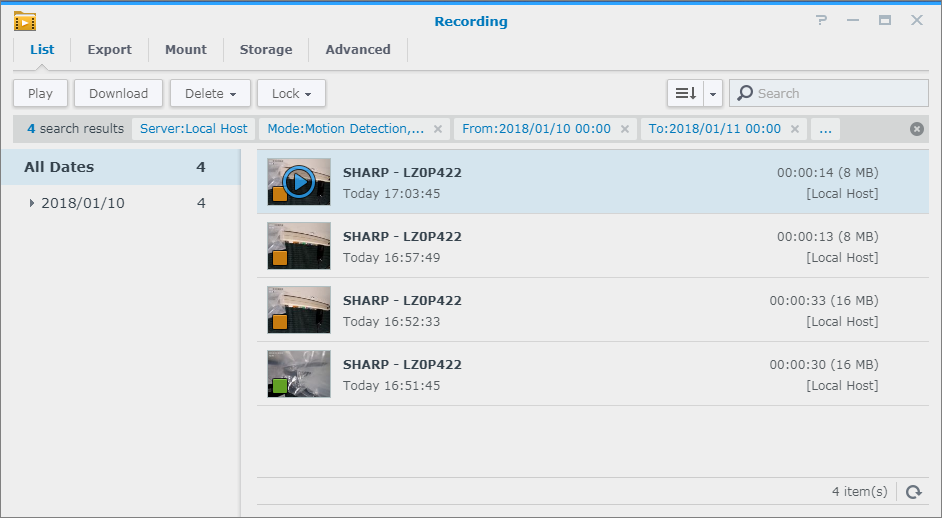
5. Launch Recording
- To launch Recording, do either of the following:
- Launch Surveillance Station and click Recording.

- Launch Surveillance Station and go to Main Menu > Recording.
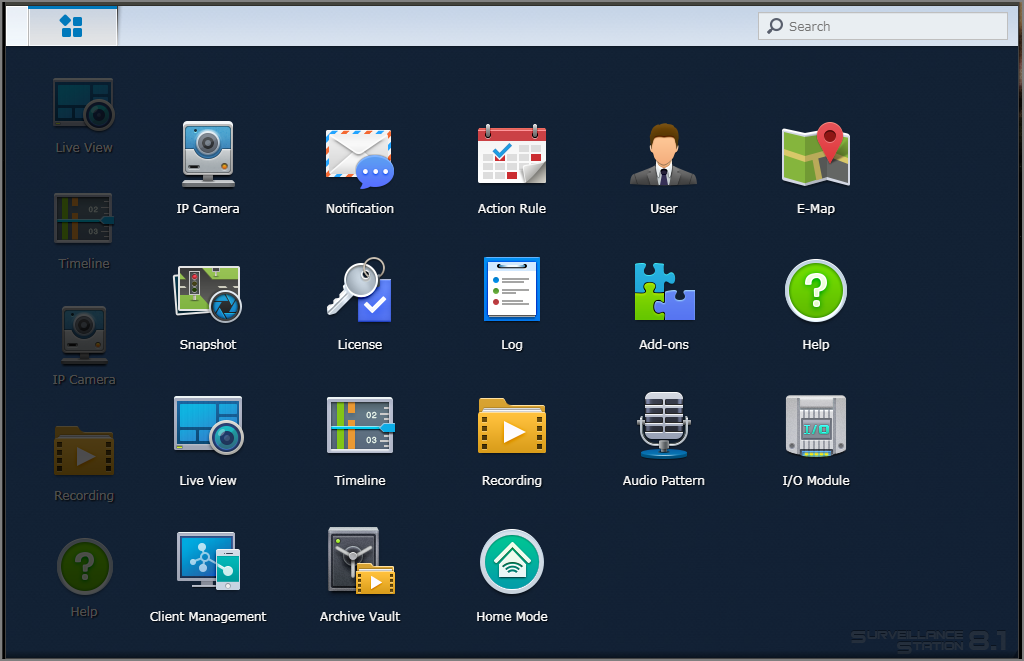
- Launch Surveillance Station and click Recording.
- Click on the thumbnails to open Recording Player and view videos.
- Previous in this topic: Add an IP camera to Surveillance Station
- Next in this topic: Set up Live View to see live videos from different cameras